Creating Profiles
The Profile add-on provides the ability to create persona-based content in flexible, templated displays. The most common uses for the Profile include faculty and staff directories, endowed positions, donor lists, and featured students.
Installing Add-ons
Add-ons like Profiles are not included with the Drupal Kit by default. Read the Add-ons page for more information about how to add this feature to your site.
Contents
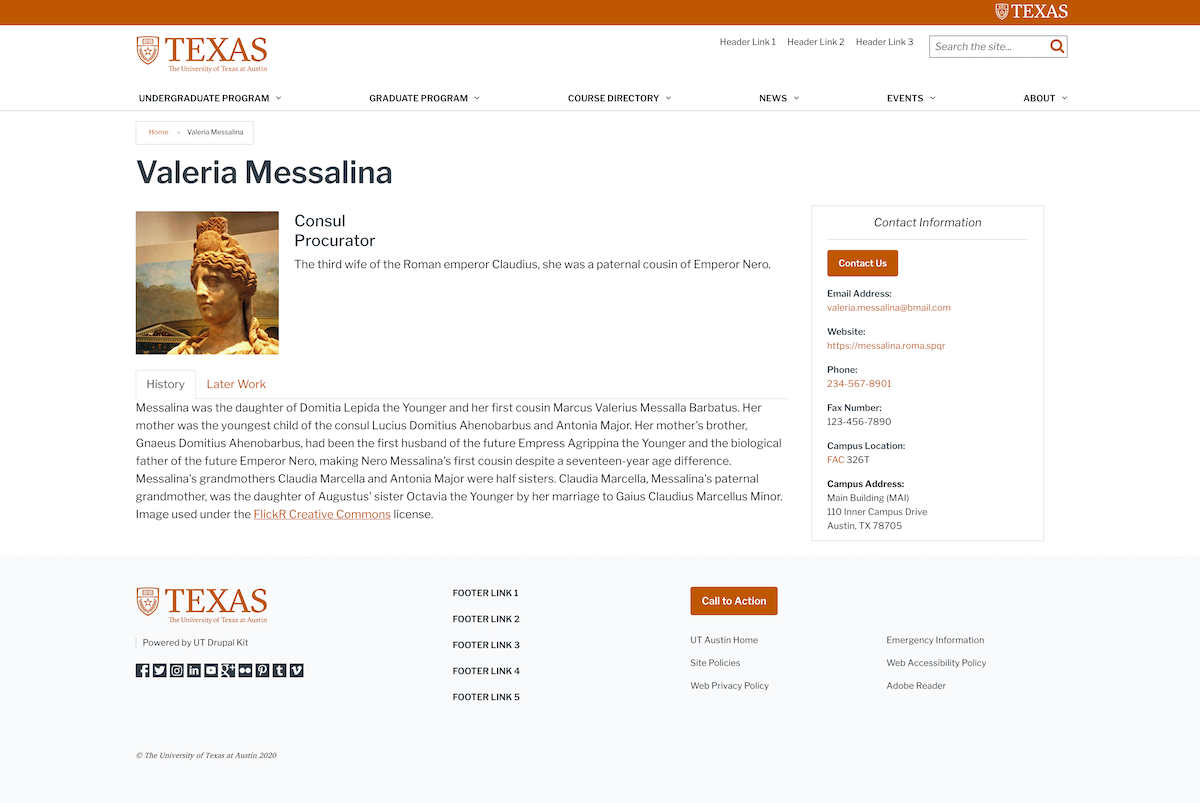
Individual Profile pages
Create new profiles at Content > Add Content > Profile (/node/add/utprof_profile).
Each Profile can display a name, image, prominent text, horizontally-tabbed main content sections, and contact information. A UT EID field is also provided that displays a “View in Directory” link in listings (see following section).
Profile listings
Profiles can display in lists, limited by groups and tags. Individual Profiles assigned a “Faculty” group could serve as an overview list on a page dedicated to all faculty, while Profiles tagged as “Adjunct faculty” can display separately on a more specific page.
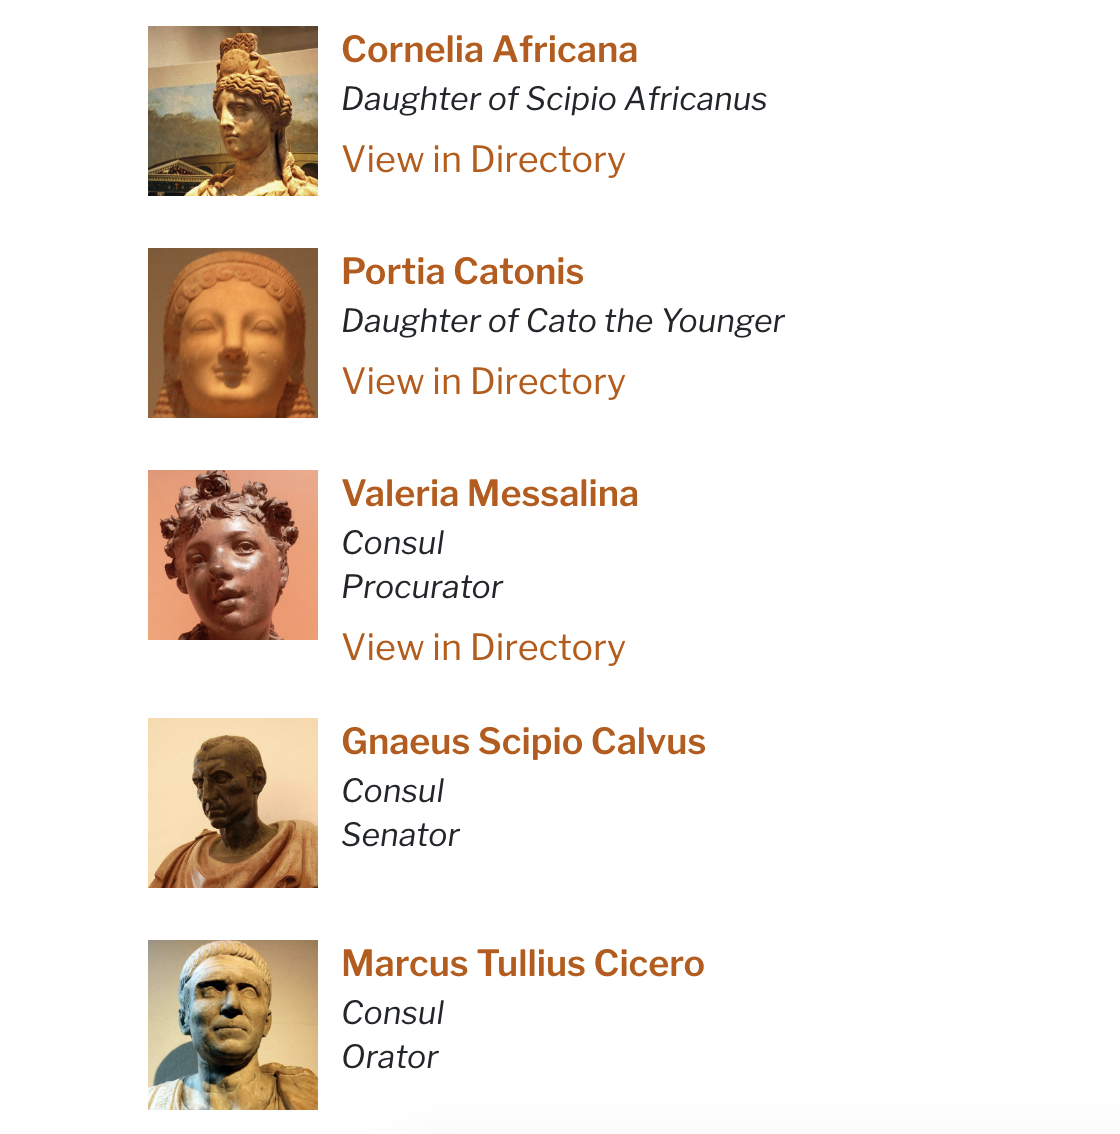
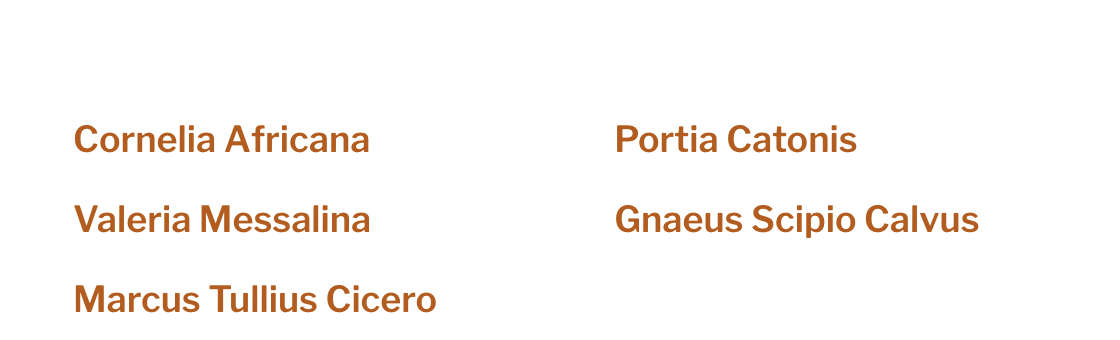
Prominent |
Basic |
Name Only |
|---|---|---|
|
|
|
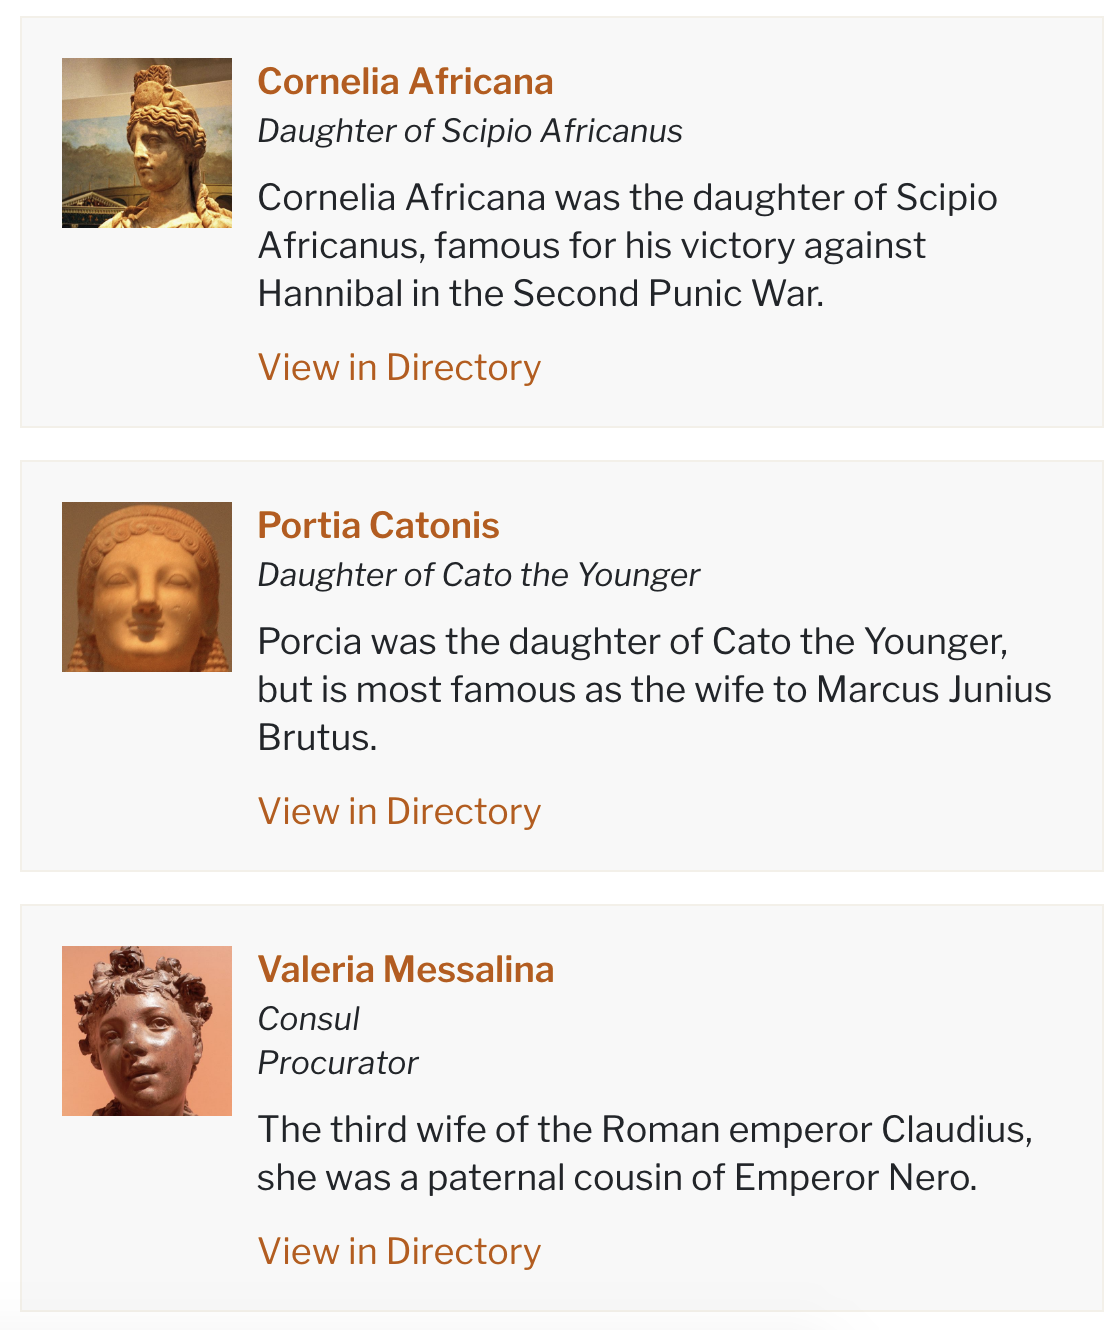
Profile listings can display in 1, 2, 3, or 4 items per row. See Control items per row (multi-item block types) for more detail.
Inline or site-wide listing?
Sites usually only need to display a Profile listings on individual pages. To do this:
Create a Flex Page.
Go to that page’s Layout tab
3. Choose Add block in the region the list should appear. 3. Select Create content block > Profile listing in the settings tray.
Sometimes sites need a listing to display on multiple pages. To do this, go to Content > Blocks > Add content block > Profile listing (block/add/utprof_profile_listing). Once created, this Profile listing will be available in the “Block library,” placed on existing pages. For example, page types with flexible layouts (like the Flex Page) will now show this as a placeable block in the settings tray.
Filtering listings by groups and tags
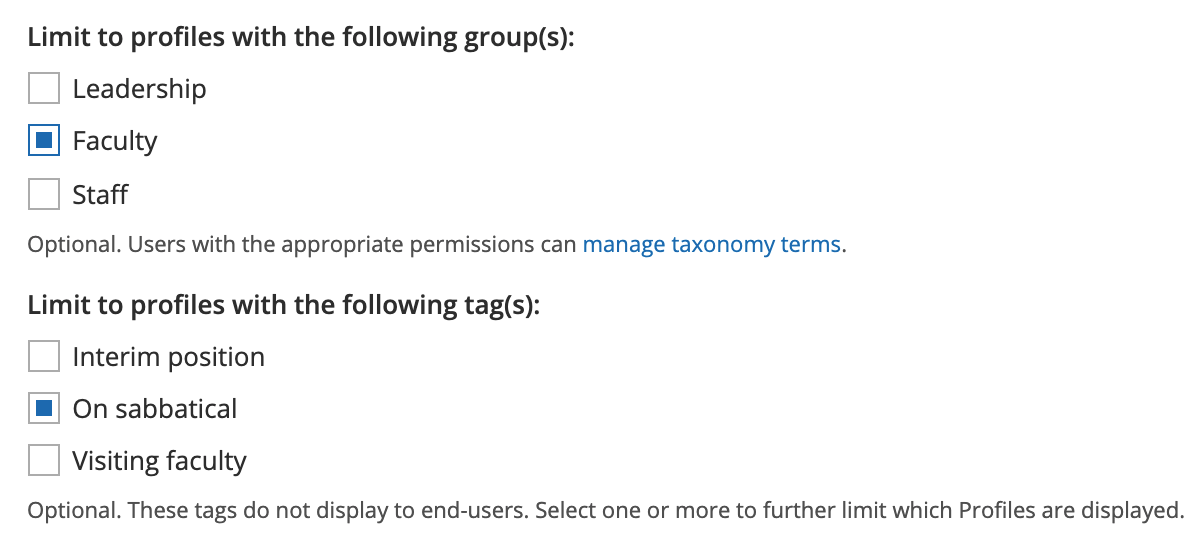
Control which Profiles display in a listing by adding filters by “Group” or “Internal Profile tags.” Users with elevated permissions can manage the terms available to both of these categories at Structure > Categories (/admin/structure/taxonomy). Content editors must assign these terms to individual Profile pages to make them function as filter criteria on listings.
The example below would limit the listing only to Profiles assigned both the “Faculty” group and the “On sabbatical” tag.
Selecting specific Profiles by name
To display a list of specific Profiles, use the List Method field:
Select the Pick specific Profiles for this list option.
A Profiles fieldset will show up with an autocomplete field.
Type a name to find the Profile you want to add.
Use the “Add another item button” to add more Profiles.
Change the display order using the drag-and-drop crosshairs.
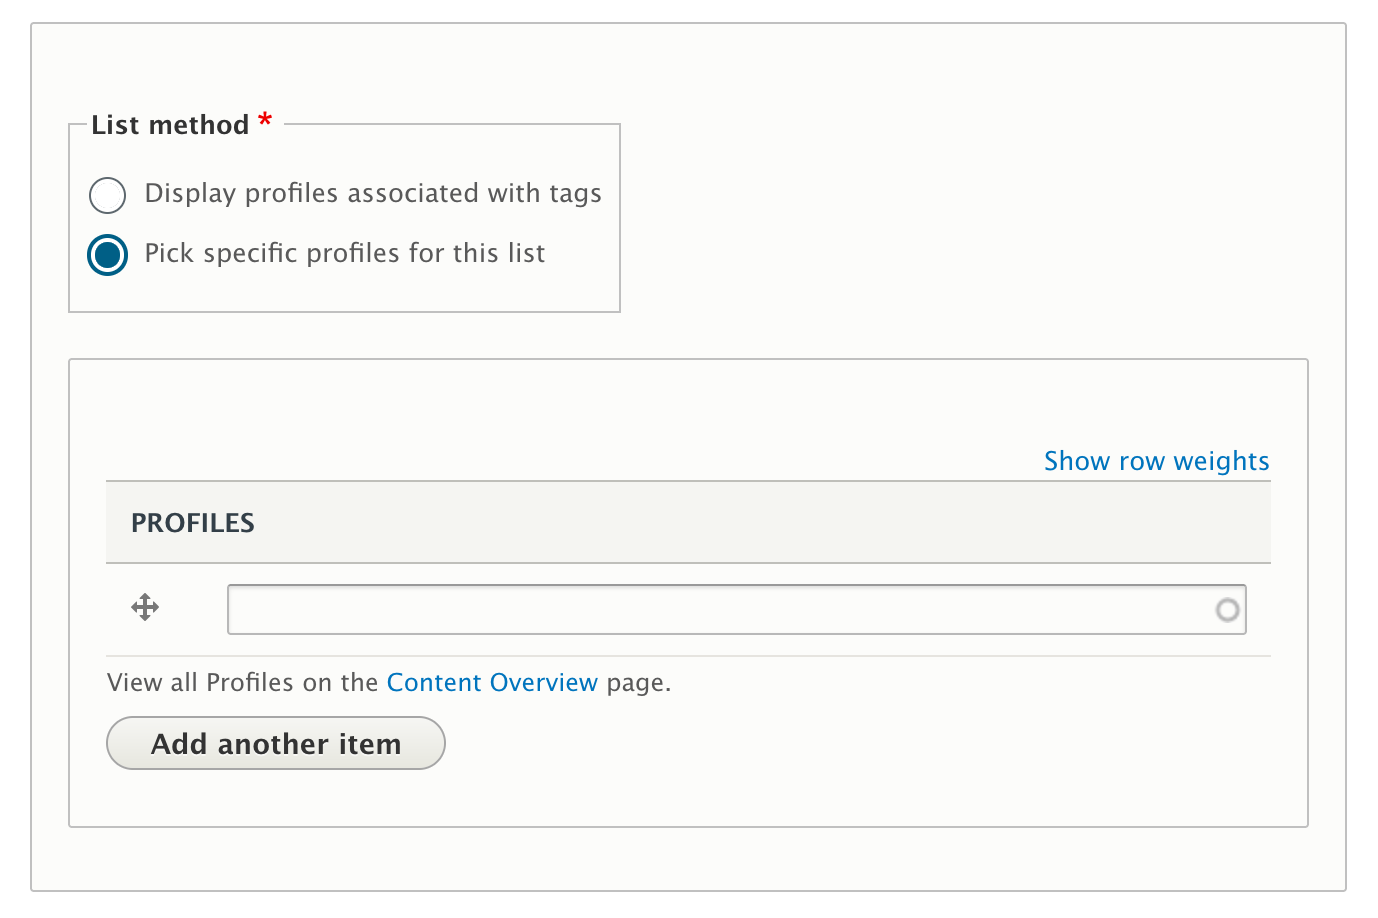
Add Profile listing form showing the option to select specific Profiles by name
“View in Directory” link
Profiles that have a UT EID field populated will display a “View in Directory” link in the Prominent and Basic displays, which will link directly to that EID record in https://directory.utexas.edu.
Toggle the email address display in Profile listings
When creating Profiles, there is a checkbox (shown below) labeled Display email in Profile listings which toggles the email display. This will take effect in Basic and Prominent listings (also shown below) .
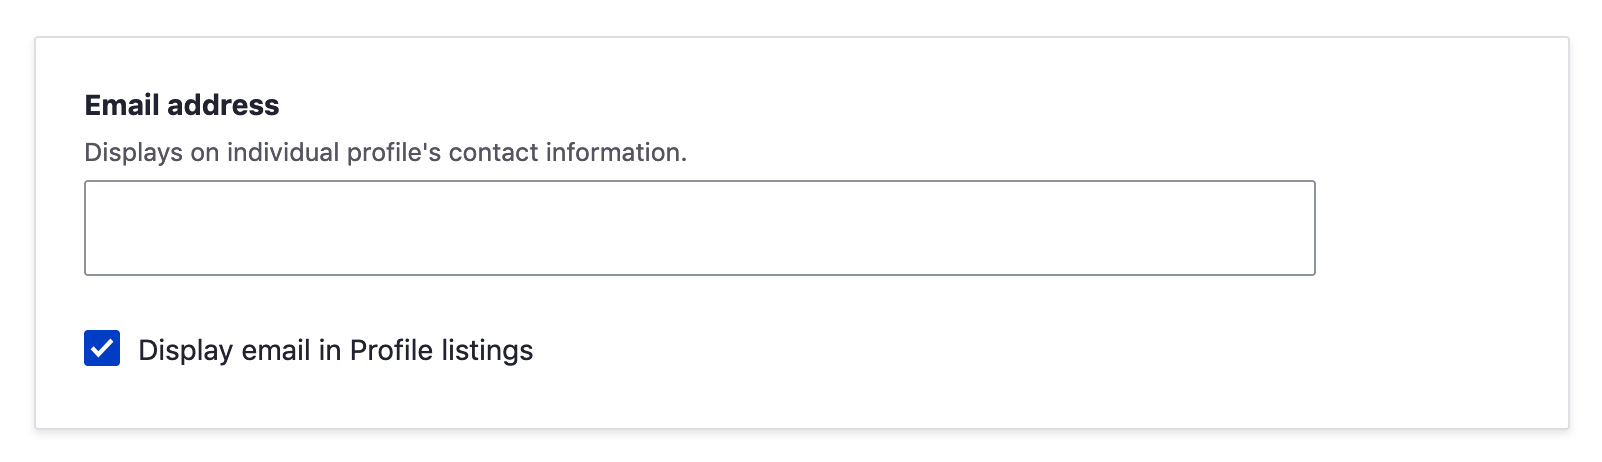
Add Profile listing form showing the option to toggle the display of the email address
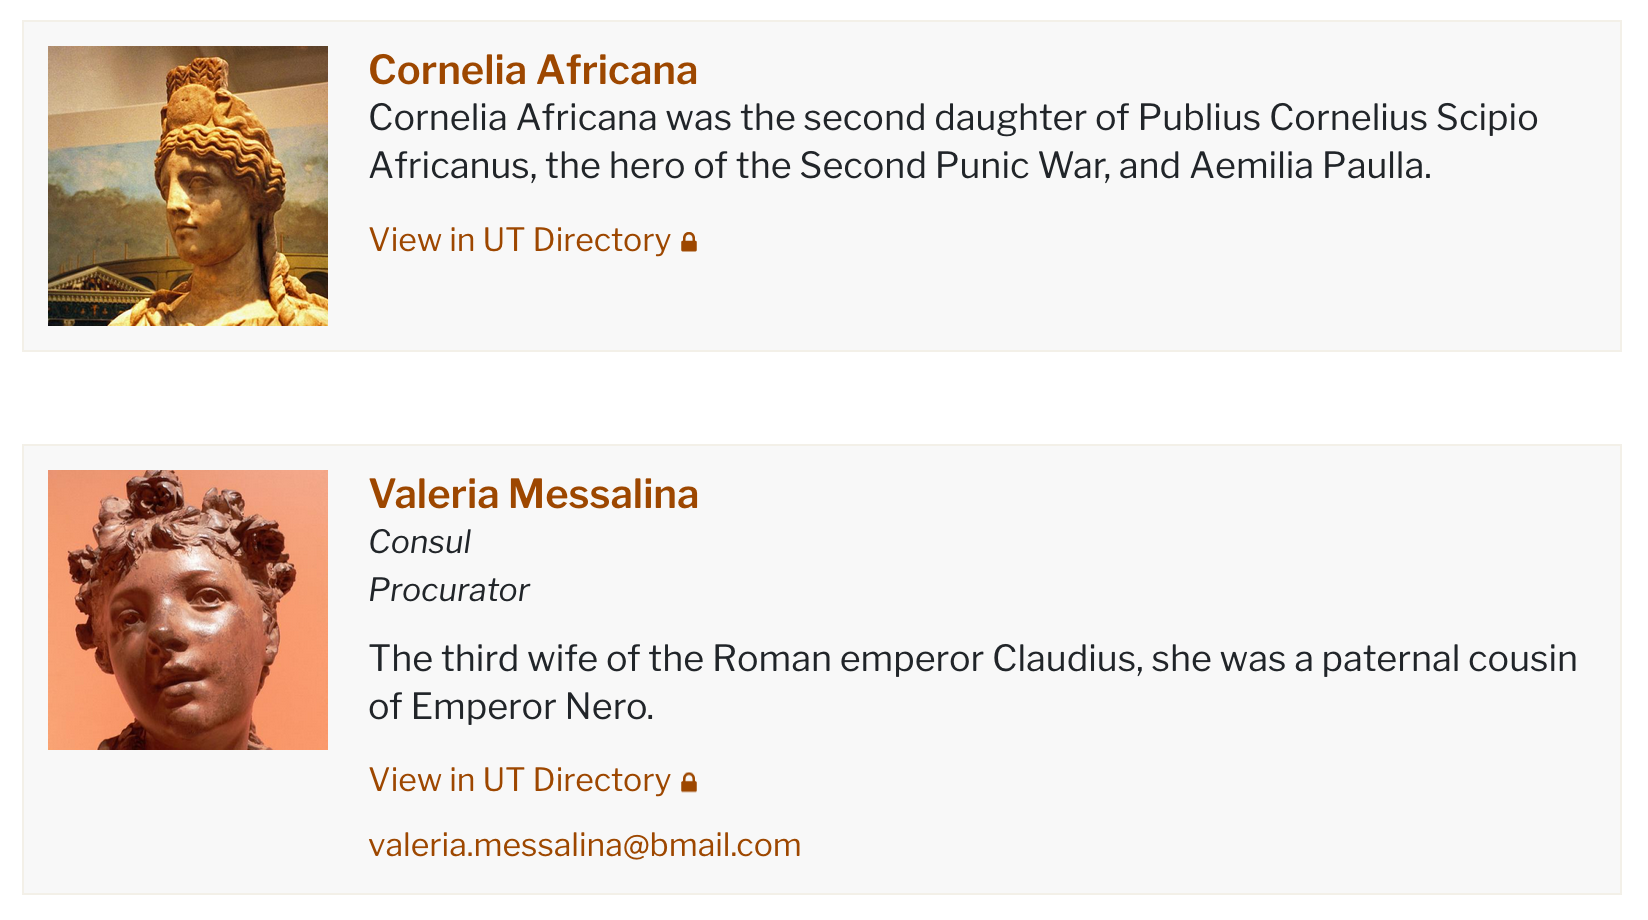
Profile listing items with and without the display of the email address